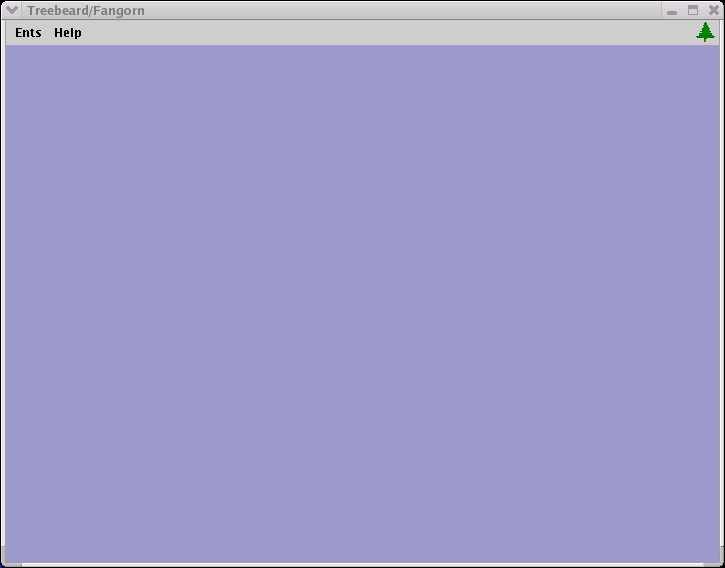
Lets get down to solving our 'real world example' by making a style sheet with Treebeard. When you startup Treebeard you should be looking at an empty 'desktop' (see right image). Pretty plain. What we are going to do next is create an Ent. For those of you who haven't read The Two Towers (or seen the movie), Treebeard is an Ent, and an Ent lives in Fangorn. I might have taken my joke a bit far, but - hey this is free stuff you're playing with so give me a break :-).
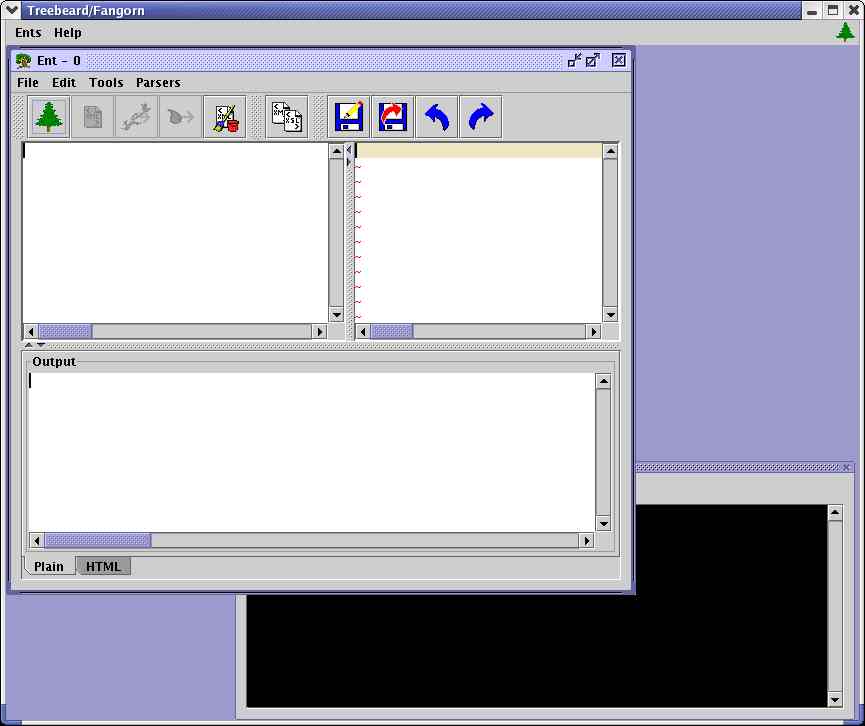
An Ent is where most of your work will be done so lets create a new Ent by choosing 'Ents' then 'New Enting' (Enting is a young Ent). Now since we are walking though this, you probably wont make any errors, but in the future when you write your own style sheets you might make an error or two. To see errors, open the Standard Error Ent by choosing 'Ents' then 'Show Errors'. We'll just put him aside as we aren't going to have any errors ;-). Your desktop should now look like the image on the left (hopefully not as fuzzy and small).
You'll notice the Ent has three Text Areas. The top left is where the input XML will go the top right will be where we write our style sheet, and the bottom is our results. As I mentioned, all errors will show up in the standard error Ent.
Lets start by typing / pasting our input document into the left Text area. If you'd like, you can clean up the XML by pressing the "XML Tidy" button. This applies a simple style sheet to the XML to auto indent. Be aware that this has different effects based on the parser you are using. Clicking the clean up can remove DTD's, work great, or do nothing at all.
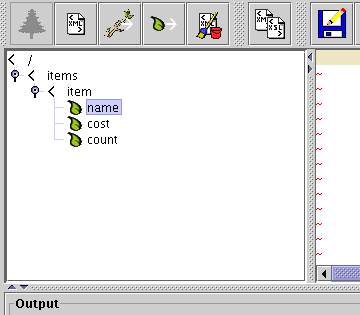
Now lets do one more thing before we create our style sheet. If you click the "Tree View" button you can put the XML document into Tree View. Tree view's purpose is two fold. First it allows you to get a different view of the XML document. When you get a complex XML document this view can help you get a better understanding of the document structure. Secondly, it makes building Xpaths easier. We will build an Xpath in a bit, but if you want to get a feel for what the tool does try selecting something in the Tree and clicking one of the "Add Selected Path" or "Add Selected Node" buttons.
To return to normal view press the "Plain View" button (but don't do it right now).
To create a style sheet, simply select 'File' then 'New XSLT' in the Ent. You will be presented with a choice of base templates to use. Choose 'XML 1.0'.
Congratulations, you just created your first valid XSLT document. Hopefully you have an XSLT book because a full XSLT language tutorial is beyond the scope of this document, but I am going to show you how to begin to write our 'real world example' solution - and leave the rest as an exercise for the reader.
The block that starts <xsl:template match="/"> and ends with </xsl:template> is like the init() or main() method of the style sheet. It is where the sheet will start processing. In between those tags add the lines:
<inventory> <name><xsl:value-of select=""/></name> </inventory>
Now place your cursor between the quotes in the select attribute. In your XML document (in Tree View), highlight the 'name' leaf (see the tree view image above). After you have selected the 'name' leaf click the "Add Selected Path" button. You have just built a very simple Xpath. Your style sheet should now look like the following:
<inventory> <name><xsl:value-of select="/items/item/name"/></name> </inventory>
To see your masterpiece in action, click the "Perform Transform" button or press F5 (or F9).


